
Table of Contents
Sometimes the tool is not what is missing (the vertical milling slide)
What is missing is simply a way to mount the tool where it is needed.
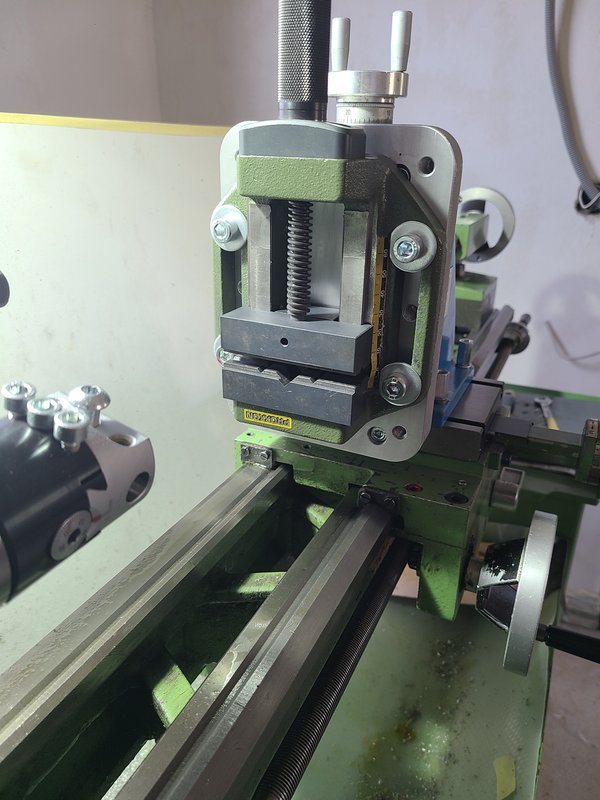
For various machining jobs on the Emcomat, I wanted to mount a small machine vise on the lathe’s vertical milling slide.
Naturally, the vise did not simply fit there.
So I needed an adapter plate.
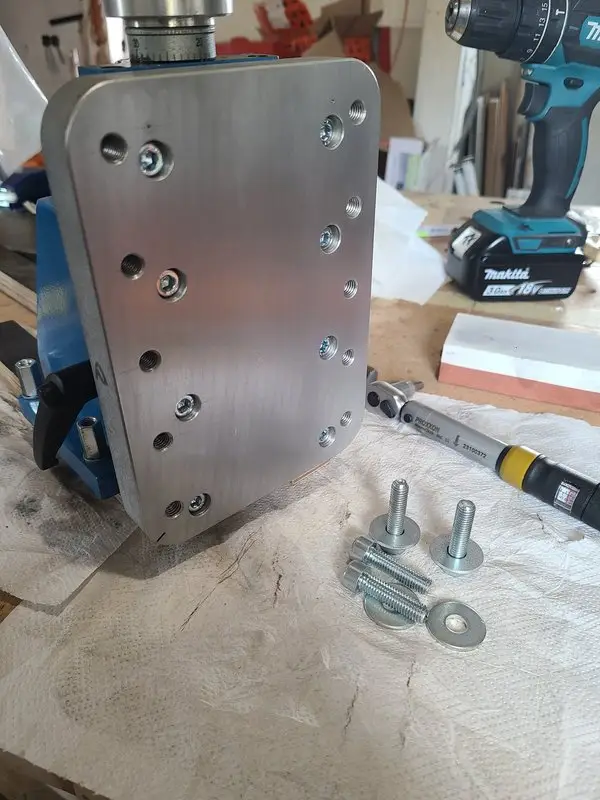
Finished aluminum plate with its various holes, threads, and mounting screws
The adapter plate connects the vise to the vertical slide and allows several mounting positions.
Why I needed the plate
The vertical slide adds vertical adjustment to the Emcomat.
It allows workpieces to be positioned relative to a tool held in the main spindle.
For many jobs, a vise is considerably more practical than building a new one-off clamping setup every time.
The adapter plate therefore needed to:
- mount the vise on the vertical slide
- allow several vise positions
- provide enough mounting points
- and leave room for other setups or hole patterns for accessories
This was not meant to be a universal precision milling plate.
I needed a stable and reasonably flexible connection between two parts I already had.
An aluminum plate with several hole patterns
I used an aluminum plate as the base.
It received several holes and M8 threads.
I arranged them so that the vise could be moved across almost the entire length of the plate.
Regardless of its position, at least two mounting screws on each side were intended to remain usable.
I did not know whether I would actually need every position I had provided.
But:
Better to have it than need it.
The additional threads added only a limited amount of work during construction.
Adding a missing mounting position later would have been considerably more annoying.

Front of the plate with the complete hole pattern visible
The hole pattern allows different vise positions. Several mounting points remain available in every position.
M8 threads directly in the aluminum
I initially cut the M8 threads directly into the aluminum.
That worked for the first setup.
I did not consider it the ideal permanent solution, however.
With frequent repositioning and repeated tightening, threads in aluminum can wear over time.
The plan was therefore to fit threaded inserts or Ensat inserts to the frequently used positions later if necessary.
There was no need to do that immediately.
As long as the existing threads work properly, there is no reason to modify them as a precaution.
If one position begins to show wear, an insert can be added there.
The vise has no pull-down action
The vise I used has no pull-down mechanism.
When tightening it, the moving jaw does not only travel toward the workpiece.
It can also lift or tilt slightly.
That means:
- The workpiece can move while the vise is being tightened.
- A previously set height or angle can change.
- Thin or awkwardly clamped parts need particular attention.
- The setup must be checked after tightening.
The vise is still useful for simple machining operations.
It is simply not a precision pull-down vise where I can insert the workpiece, tighten it, and assume that it has remained unchanged on its support.
Some rocking or lifting must therefore be expected.
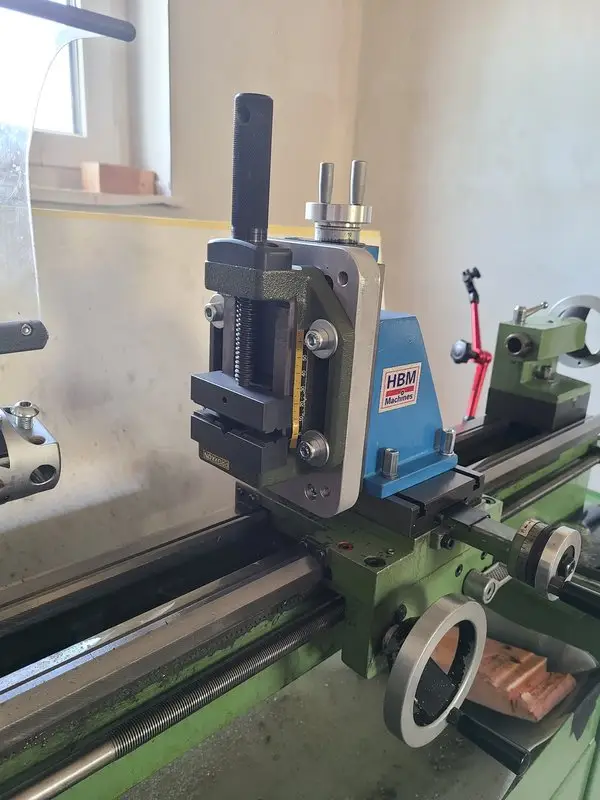
Vise fully mounted on the plate of the vertical milling slide
The small vise is useful for many auxiliary jobs. Because it has no pull-down action, however, the workpiece can lift while it is being clamped.
A setup that can be repositioned
The vise can be mounted in different positions on the plate.
That matters because the usable working area changes with the job.

Depending on the workpiece and tool, the vise may need to be positioned:
- closer to the spindle
- farther outward
- higher or lower
- or offset sideways
accordingly.
A single fixed vise position would have restricted the vertical milling slide unnecessarily.
The hole pattern lets me reposition the vise without drilling new holes every time.
Mounting it on the vertical slide
The plate is bolted to the vertical milling slide.
For the first setup, I did not yet have suitable T-nuts.
Ordinary M6 nuts therefore had to serve in the slots temporarily.
That made this particular project slightly contradictory:
I needed the adapter plate partly to make the T-nuts that would later be used to mount the adapter plate properly.
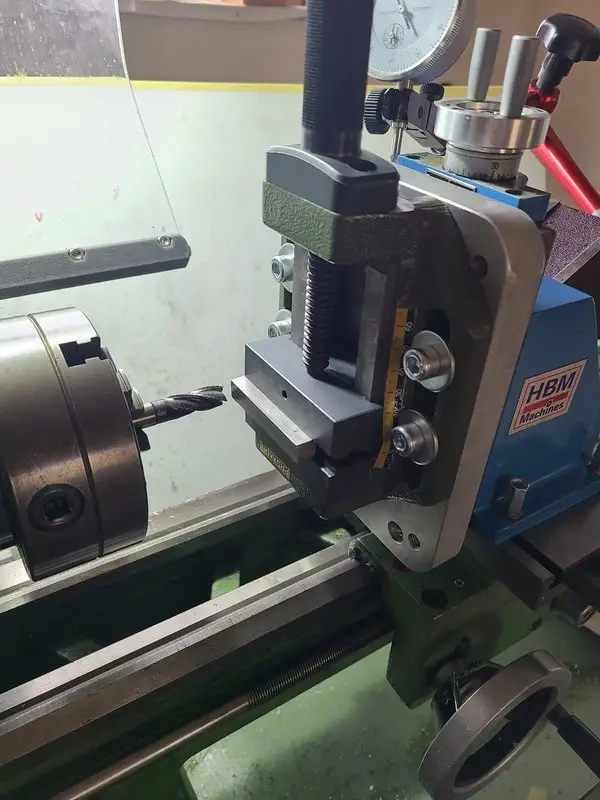
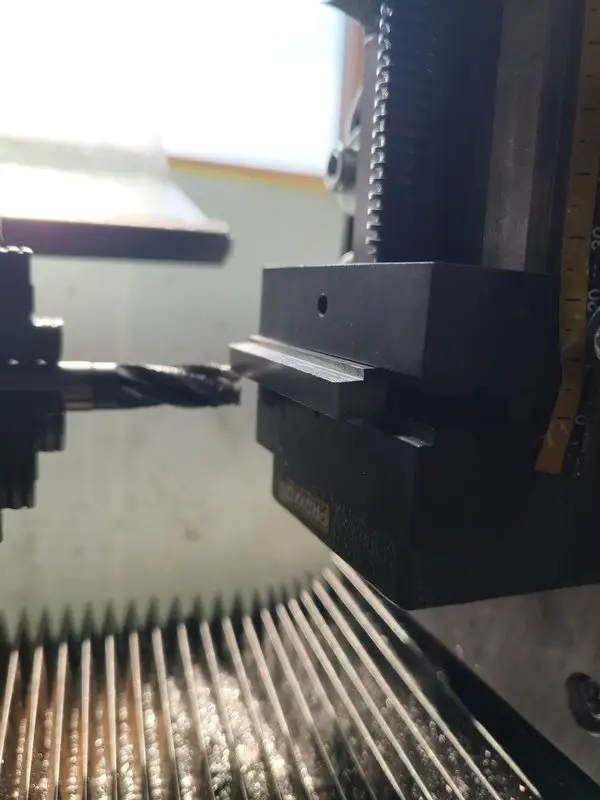
Tools build tools.
Sometimes the first version has to keep itself alive with a temporary mounting arrangement.
From a temporary fix to proper T-nuts
The M6 nuts worked for the initial setup.
They were not particularly convincing as a permanent solution.
Their bearing area in the slot is small, inserting them is awkward, and they do not distribute the load as well as a properly fitted T-nut.
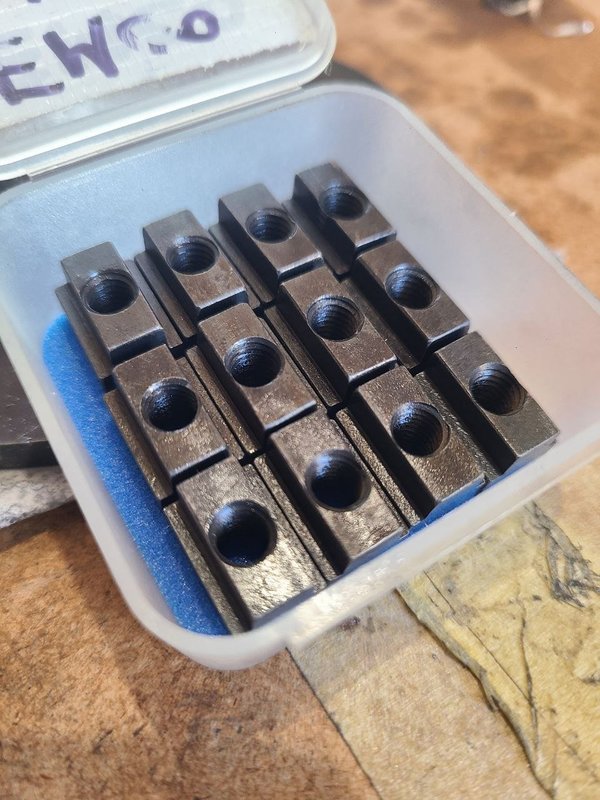
I therefore made my own T-nuts from C45 shortly afterward.
The adapter plate was one of the first setups that needed them. Later, they were also used for the Solid Toolpost base plate.
That completed the circle:
- Temporarily mount the plate with nuts.
- Mount the vise on the plate.
- Use this setup to make the T-nuts.
- Replace the nuts with the new T-nuts.
Not elegantly planned.
But functional.
Aligning the vise
After repositioning it, the vise must be realigned when necessary.
The plate has no locating feature that automatically defines every position square to the machine axis.
For work where alignment matters, I therefore check it with a dial indicator or against a suitable reference surface.
For simpler jobs, rough parallel alignment is sufficient depending on the requirements.
The adapter plate provides the mounting and the different positions.
It does not replace setup and alignment.
What the plate makes possible
With the vise on the vertical milling slide, I can, among other things:
- position small workpieces relative to the main spindle
- drill holes
- carry out simple milling operations
- machine profiled parts
- create repeatable setups
- and make auxiliary parts for further machine modifications
The plate is not a spectacular component.
It does, however, considerably expand what the existing vertical slide can do.
Without it, the vise would be just another tool that exists but cannot sensibly be used in this position.
Limits of the setup
The vertical milling slide with a vise mounted on it is not a full milling machine.
The setup has several flexible points:
- the vertical slide itself
- its guideways and clamping
- the adapter plate
- the vise mounting
- and the vise without pull-down action
The available working area is limited as well.
The important points are therefore:
- light cuts
- controlled cutting forces
- the shortest practical setup
- a suitable cutting direction
- and checking whether the workpiece moves during clamping or machining
The plate expands the machine.
It does not change the machine underneath it.
What I would do differently today
Plan for threaded inserts from the start
For frequently used positions, I might now provide threaded inserts from the beginning.
Wear-resistant threads are reassuring when the vise is repositioned regularly.
On the other hand, the directly tapped M8 threads work for now.
A precautionary conversion is therefore not essential.
Use a better vise
A vise with reliable pull-down action would make setup considerably easier.
With the existing model, I have to check after tightening that the workpiece is still seated properly.
That is acceptable for simple work.
A better design would be more convenient for repeated precision setups.
Make the proper T-nuts first — except for the chicken-and-egg problem
Mounting the plate with M6 nuts so that it could be used to make its own T-nuts worked.
In a more sensible sequence, the T-nuts might have been made beforehand or by some other method.
That, however, would already have required a usable setup.
Welcome to the workshop. Or rather, to WerkstattDenke.
Fewer holes would probably be enough
The hole pattern offers more positions than I will probably use regularly.
They do not get in the way.
For a second plate, I would nevertheless check which positions are actually useful and perhaps make the pattern a little clearer.
Current status
The adapter plate is finished and usable on the vertical milling slide.
The documented features are:
- an aluminum plate as the base
- several M8 threads for different vise positions
- at least two available mounting points on each side, four in total
- the ability to reposition the vise along the length of the plate
- an initially temporary mounting arrangement using M6 nuts
- and the later use of properly fitted T-nuts
The following remain open or depend on further use:
- the possible installation of threaded inserts
- the long-term condition of the aluminum threads
- and a possible better vise with more effective pull-down action
The plate itself does its job.
Retrospective
The adapter plate is not a particularly complicated project.
It has:
- no motor
- no electronics
- no elaborate mechanism
- and no unusual combination of materials
It was necessary nevertheless.
Without it, the existing vise could not be mounted sensibly on the vertical milling slide.
Without the vise, certain parts could not be made.
And without those parts, later setups would have become more difficult in turn.
This is often how workshop improvements develop:
A plate so that a vise can be mounted, so that T-nuts can be made, so that the plate can be mounted properly.
In the end, all you see is an aluminum plate with a lot of holes.
Its real function lies in the projects that only became possible because of it.
Image gallery

Forum discussion (German)
The original setup was briefly documented in the forum:
Forum discussion: Adapter plate for a vise on the vertical slide
This article documents my specific setup. A vise on a vertical milling slide does not replace a milling machine. Mounting, pull-down action, workpiece position, tool direction, cutting forces, and possible collisions must be assessed separately for every machining operation.
How would you (or did) mount the vise?
The plate does its job, but several decisions remain open to discussion: M8 threads directly in aluminum, a large number of possible vise positions, and a vise without pull-down action.
Have you used a similar setup on a small lathe? I am particularly interested in experience with lathe’s vertical milling slides and compact vises with reliable pull-down action.
Solutions made with limited equipment, as well as well-reasoned criticism of my setup, are very welcome in the comments.
Leave a Reply